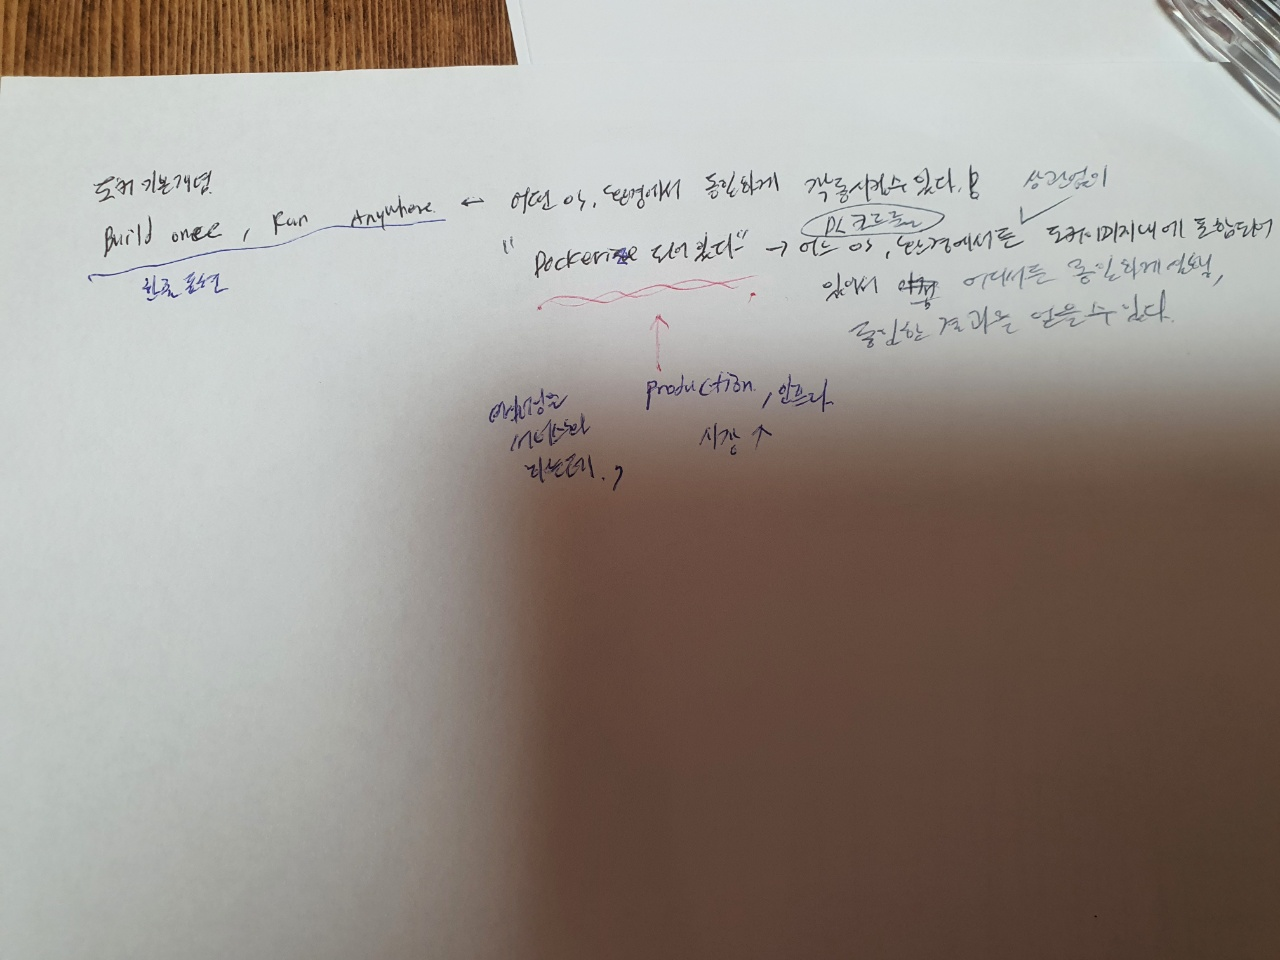
어떤 OS, 환경에서 동일하게 작동시킬 수 있는 것이 Docker입니다. 한 줄로 표현하면 "Build Once, Run Anywhere"과 같습니다. 딥러닝 코드를 어느 OS, 환경에서든 상관없이 도커 이미지화 시키면 어디서든 동일하게 실행 및 결과를 얻을 수 있습니다. 이를 Dockerize 되어있다고 이야길 합니다. 머신러닝을 서비스화 하는데 production하는데 있어서 인프라도 상당히 중요하기 때문에 Docker의 중요성을 두말하면 잔소리 입니다.
1. 실습 환경
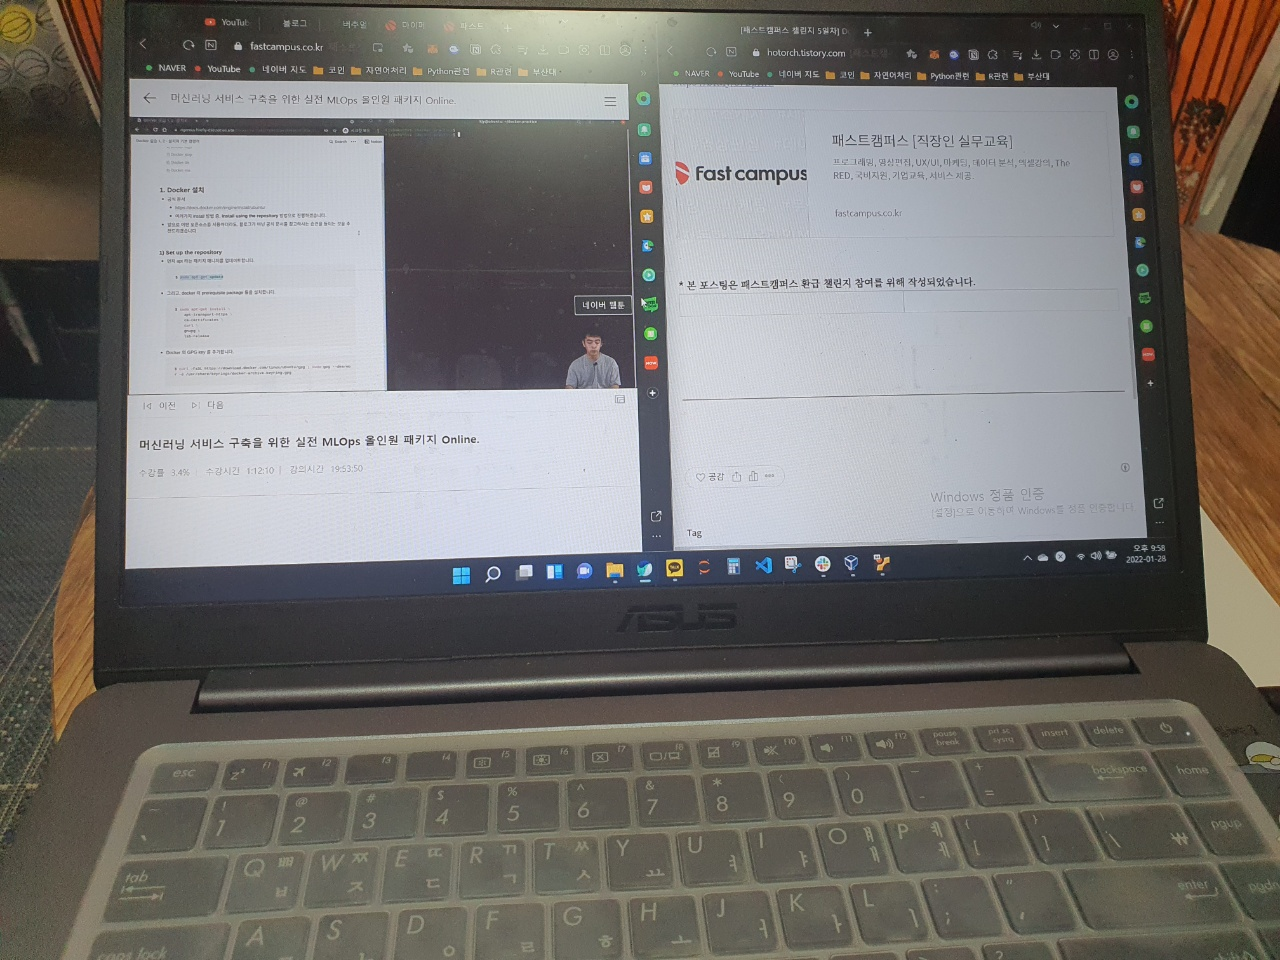
그렇다면 간단하게 환경을 구성하고자 합니다. 저같은 경우에는 환경은 VirtualBox + Ubuntu(20.04.3) 조합으로 구성할 예정입니다. 구성하는 방법은 아래 주소에서 참고하시면 좋을 것 같습니다.
https://mainia.tistory.com/2379
버추얼박스(VirtualBox) 이용해서 우분투(Ubuntu) 설치하기
버추얼박스(VirtualBox) 이용해서 우분투(Ubuntu) 설치하기 환경: VirtualBox 버추얼박스(VirtualBox) 를 이용해서 다양한 OS 를 자신의 컴퓨터에 설치할 수 있습니다. 저는 직업 특성상 리눅스 OS 를 접할 일
mainia.tistory.com
2. 설치
공식 문서는 아래를 참고하였으며, Install using the repository 방법으로 진행하였습니다.
https://docs.docker.com/engine/install/ubuntu/
Install Docker Engine on Ubuntu
docs.docker.com
2-1) Set up the repository
# apt 패키지 매니저 업데이트
$ sudo apt-get update
# docker의 prerequisite package 들 설치
$ sudo apt-get install apt-transport-https ca-certificates curl gnupg lsb-release
# Docker GPG Key 추가
$ curl -fsSL https://download.docker.com/linux/ubuntu/gpg | sudo gpg --dearmor -o /usr/share/keyrings/docker-archive-keyring.gpg
# 다음 stable 버전의 repo를 바라보도록 설정
$ echo \ "deb [arch=amd64 signed-by=/usr/share/keyrings/docker-archive-keyring.gpg] https://download.docker.com/linux/ubuntu \ $(lsb_release -cs) stable" | sudo tee /etc/apt/sources.list.d/docker.list > /dev/null
# 만약에 arm 기반의 cpu라면 아래 명령어 실행!
echo \ "deb [arch=arm64 signed-by=/usr/share/keyrings/docker-archive-keyring.gpg] https://download.docker.com/linux/ubuntu \ $(lsb_release -cs) stable" | sudo tee /etc/apt/sources.list.d/docker.list > /dev/null
2-2) Install Docker Engine
Docker 엔진의 최신 버전을 설치합니다. 특정 버전의 Docker를 설치하고 싶다면 메뉴얼을 참고하시면 됩니다.
$ sudo apt-get update
$ sudo apt-get install docker-ce docker-ce-cli containerd.io
2-3) 정상 설치 확인
docker container를 실행 후 정상 설치가 되었는지 확인할 수 있습니다.
$ sudo docker run hello-world
아래와 같이 출력이 된다면 정상적으로 설치가 된 것 입니다.
Unable to find image 'hello-world:latest' locally
latest: Pulling from library/hello-world b8dfde127a29: Pull complete
Digest: sha256:0fe98d7debd9049c50b597ef1f85b7c1e8cc81f59c8d623fcb2250e8bec85b38
Status: Downloaded newer image for hello-world:latest
Hello from Docker!
This message shows that your installation appears to be working correctly.
To generate this message, Docker took the following steps:
1. The Docker client contacted the Docker daemon.
2. The Docker daemon pulled the "hello-world" image from the Docker Hub. (amd64)
3. The Docker daemon created a new container from that image which runs the executable that produces the output you are currently reading.
4. The Docker daemon streamed that output to the Docker client, which sent it to your terminal.
To try something more ambitious, you can run an Ubuntu container with:
$ docker run -it ubuntu bash
Share images, automate workflows, and more with a free Docker ID:
https://hub.docker.com/
For more examples and ideas, visit:
https://docs.docker.com/get-started/
현재 모든 docker 모든 관련 작업이 root 유저에게만 권한이 있기에, docker 관련 명령 수행을 하려면 sudo 를 앞에 붙어야합니다. 바로 docker ps 를 수행 시 permission denied 메시지를 받게 됩니다. 따라서 root 유저가 아닌 host 의 기본 유저에게도 권한을 주어, 다음과 같은 명령의 새로운 터미널에서 수행합니다.
$ sudo usermod -a -G docker $USER
$ sudo service docker restart
VM 로그아웃 후 다시 로그인 하여 docker ps 명령어를 수행하면 다음과 같이 정상적으로 출력이 됨을 알 수 있습니다.
CONTAINER ID IMAGE COMMAND CREATED STATUS PORTS NAMES
다음 시간에는 기본 명령어에 대해 다루어보겠습니다.
번외 ) vm을 처음 써보는데 화면 크기 조정이 안되어서 불편함을 느꼈는데, 아래 보고 해결을 했습니다.
https://changun516.tistory.com/144
[Virtualbox] 화면 크기 조절
| VirtualBox 화면 크기 조절 하기 Outline Virtual Box 사용시 아래와 같이 화면 크기가 작아서 디스플레이가 잘리는 경우가 있다. 이때 해결 방법을 알아보자. 1. 설정을 클릭 2. 그래픽 컨트롤러 설정 기
changun516.tistory.com
패스트캠퍼스 [직장인 실무교육]
프로그래밍, 영상편집, UX/UI, 마케팅, 데이터 분석, 엑셀강의, The RED, 국비지원, 기업교육, 서비스 제공.
fastcampus.co.kr
* 본 포스팅은 패스트캠퍼스 환급 챌린지 참여를 위해 작성되었습니다.
 |
 |
'AI > MLOps' 카테고리의 다른 글
| [패스트캠퍼스 챌린지 7일차] Docker Image (0) | 2022.01.30 |
|---|---|
| [패스트캠퍼스 챌린지 6일차] Docker 기본 명령어 (0) | 2022.01.29 |
| [패스트캠퍼스 챌린지 4일차] Container Orchestration (0) | 2022.01.27 |
| [패스트캠퍼스 챌린지 3일차] MLOps의 구성요소 (0) | 2022.01.26 |
| [패스트캠퍼스 챌린지 2일차] MLOps = ML + DevOps (0) | 2022.01.25 |